How To Clean Your Bed - Our Guide

It’s really important to keep your bed clean, from the bedding and upholstery through to the mattress itself to ensure a restful and hygienic sleep night after night. By keeping your bed clean, you’ll help to reduce any potential allergies, skin flare ups and of course, extend the lifecycle of your bed and keep it looking great for longer. So, here’s our guide to keeping your bed clean.

How To Clean Your Bed Frame

First of all, let's take a look at the cleaning process for your bed frame and the headboard. This all depends on the materials used, so read on for the tips specific for your bed type. 

How To Clean An Upholstered Bed

When it comes to cleaning an upholstered bed, the techniques and cleaning solutions used may slightly differ depending on the materials that your upholstered bed and headboard are finished with, but in general, the tips detailed below should keep your upholstered bed looking as good as new.

First of all, you’ll need to get the vacuum cleaner out and attach the brush head. This is perfect to move the fabric fibres around and suck up any loose dust. 

Next up you want to use a mild detergent such as washing up liquid and warm water to spot clean the bed. Use a clean cloth and dip it into the water, making sure to wring out any excess water. Be sure to then test the cleaning solution on one area before proceeding anywhere else on the bed, just to make sure there’s no damage or discoloration. Once you’re happy with the results, proceed to gently scrub any stained areas. Then be sure to use a damp cloth to rinse any soapy residue away before blotting dry the bed with a clean, absorbent towel or cloth. 

Remember it’s always best to clean any stains as soon as possible, but if you’ve noticed them late, a good tip would be to sprinkle baking soda on the affected area to try and absorb the grease, before vacuuming it up. If this doesn’t work, then look to purchase a specialist upholstery cleaner, which could remove the stain. 

Once the upholstery is clean, be sure to allow the fabric to fully dry, potentially opening your bedroom windows could speed this process up.

Madrid Upholstered Divan Bed with Storage

How To Clean A Wooden Bed Frame

Cleaning a wooden bed frame is a slightly different process to cleaning an upholstered bed. Whilst many of the steps are similar, it’s important not to cause water damage to the wood.

First of all, you’ll want to ideally remove all bedding and the mattress from the bed frame itself, to make it easier to access all areas of the bed frame. Then use your vacuum cleaner with the brush attachment to suck up any loose dust or debris, making sure you get in all the crevices. 

Next up, make a cleaning solution made up of washing up liquid or a specialist wood cleaner with warm water and grab a clean cloth. You’ll want to dip the cloth into the cleaning solution and make sure to wring out any excess water. This is important because you don’t want to use lots of water as you’ll run the risk of the wood absorbing water and potentially causing damage or warping over time. 

Then use the damp cloth to clean the bed frame in a circular motion. For more stubborn stains, use the wet cloth to dab the affected area first, then use a separate dry cloth to wipe the area clean afterwards. 

Once the bed frame is clean, be sure to wipe it down with a dry cloth to remove any moisture that may remain, then give it time to air out and fully dry before you put the mattress and bedding back onto the bed. 

As an extra step to keep your wooden bed frame looking its best, you could also polish and/or even wax your bed frame before putting the bedding and mattress back. This would give your bed frame a more polished sheen and is fairly easy to accomplish. Simply put a small amount of polish or wood wax onto a new clean cloth and gently rub it into the bed frame, always making sure you follow the product instructions.

Cleaning Your Bedding

So now that you’ve cleaned your actual bed frame, here’s how to make sure your bedding is nice and clean and ready for the next time you hop into bed.

Read The Care Label

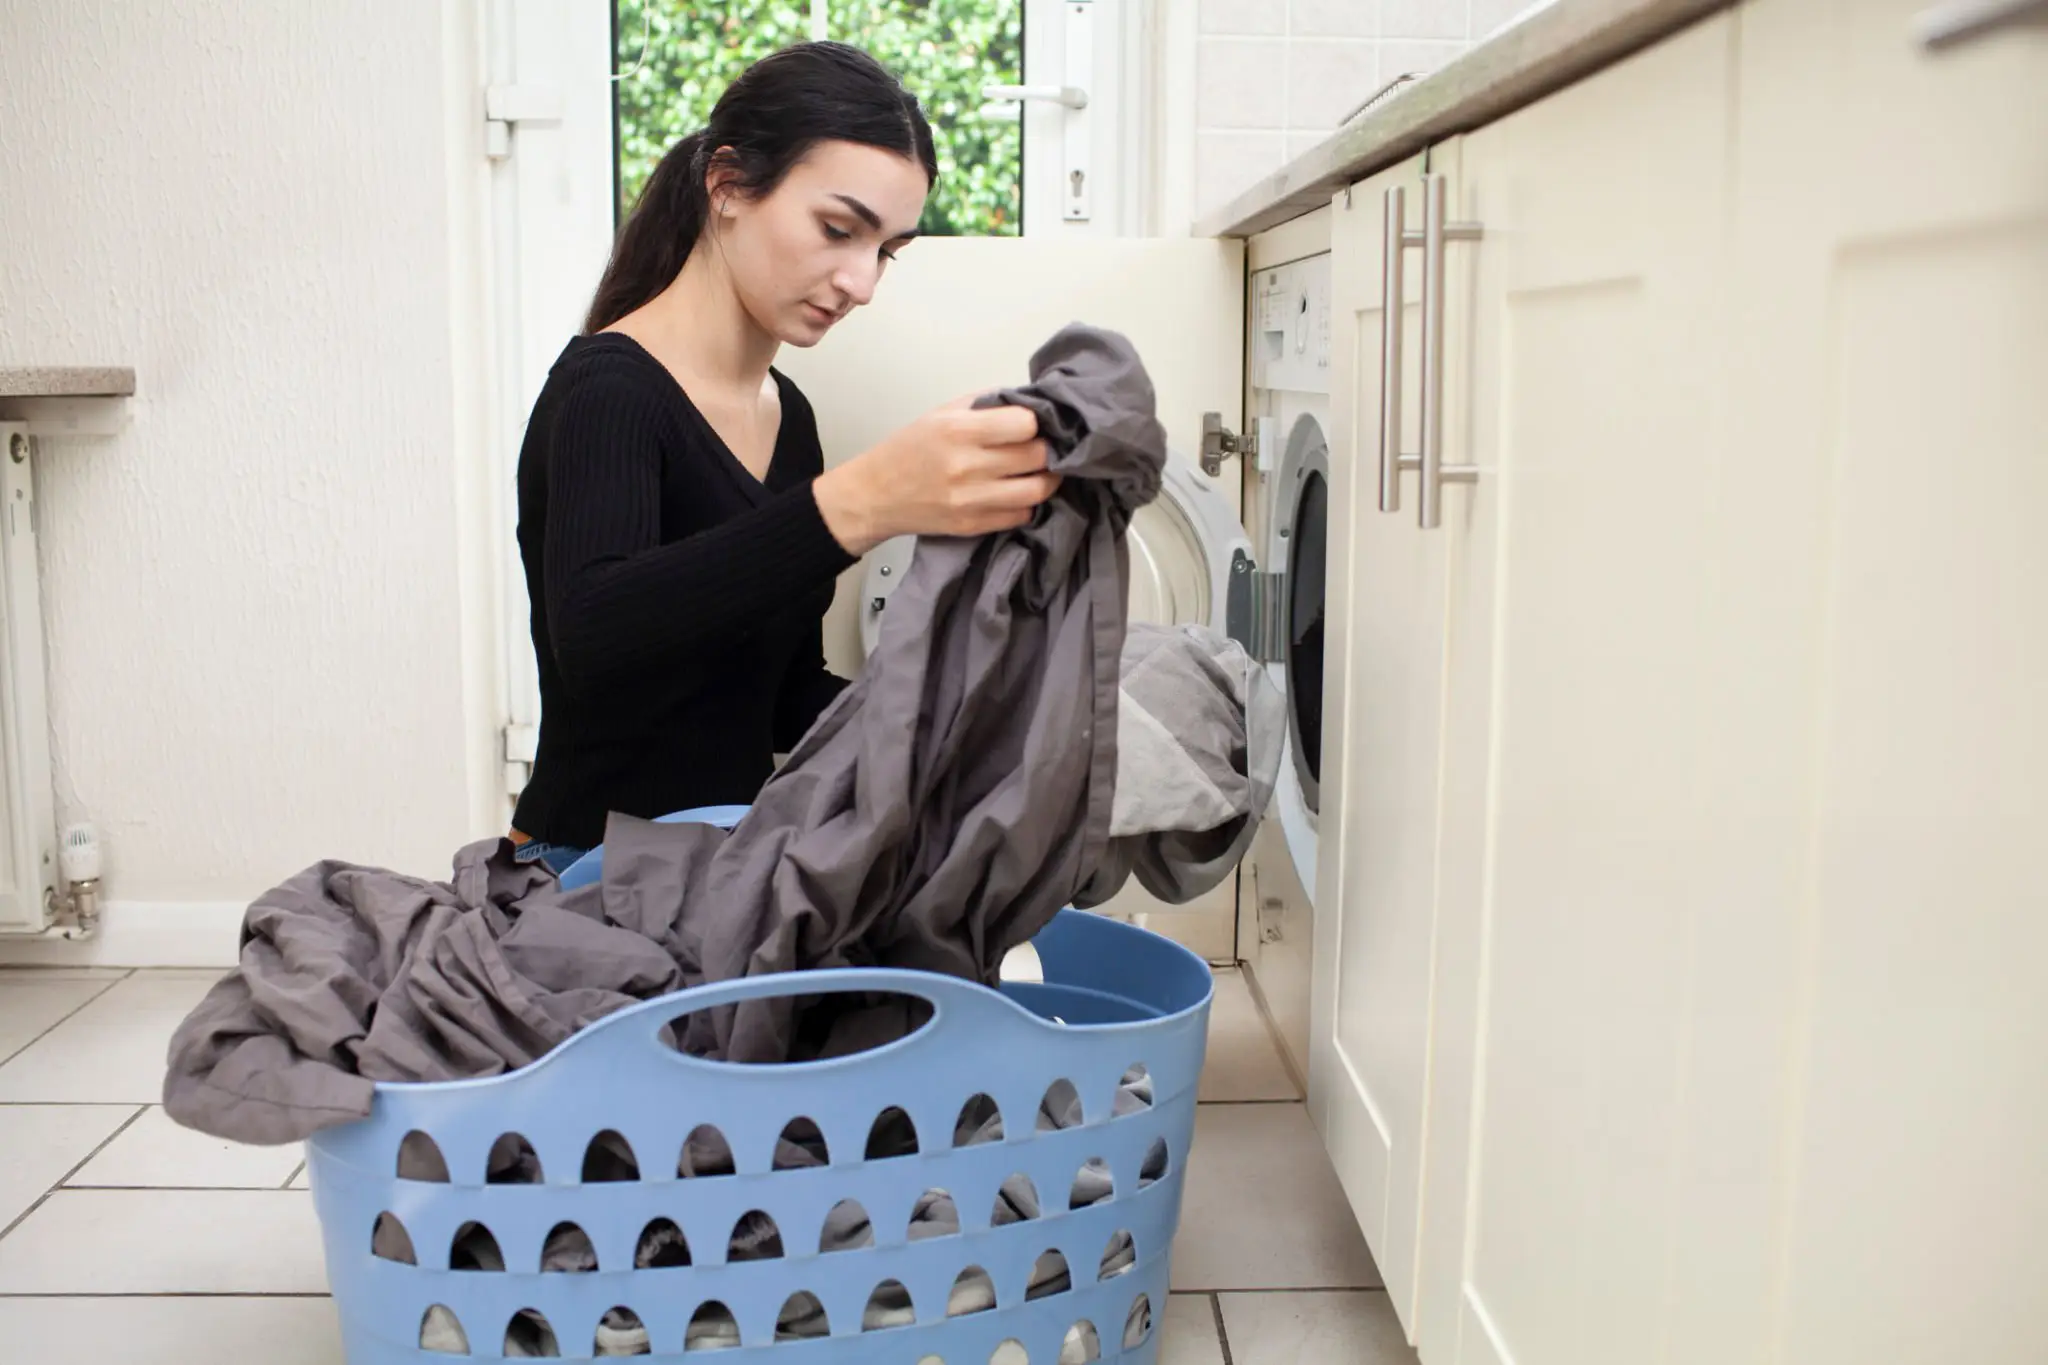
The first step to take, as with any clothing or fabric items that are going into the washing machine, is to check the care labels. By following these, you’ll ensure longevity for your bedding and help to prevent any damage to the material. 

Pre-Treat Any Stains

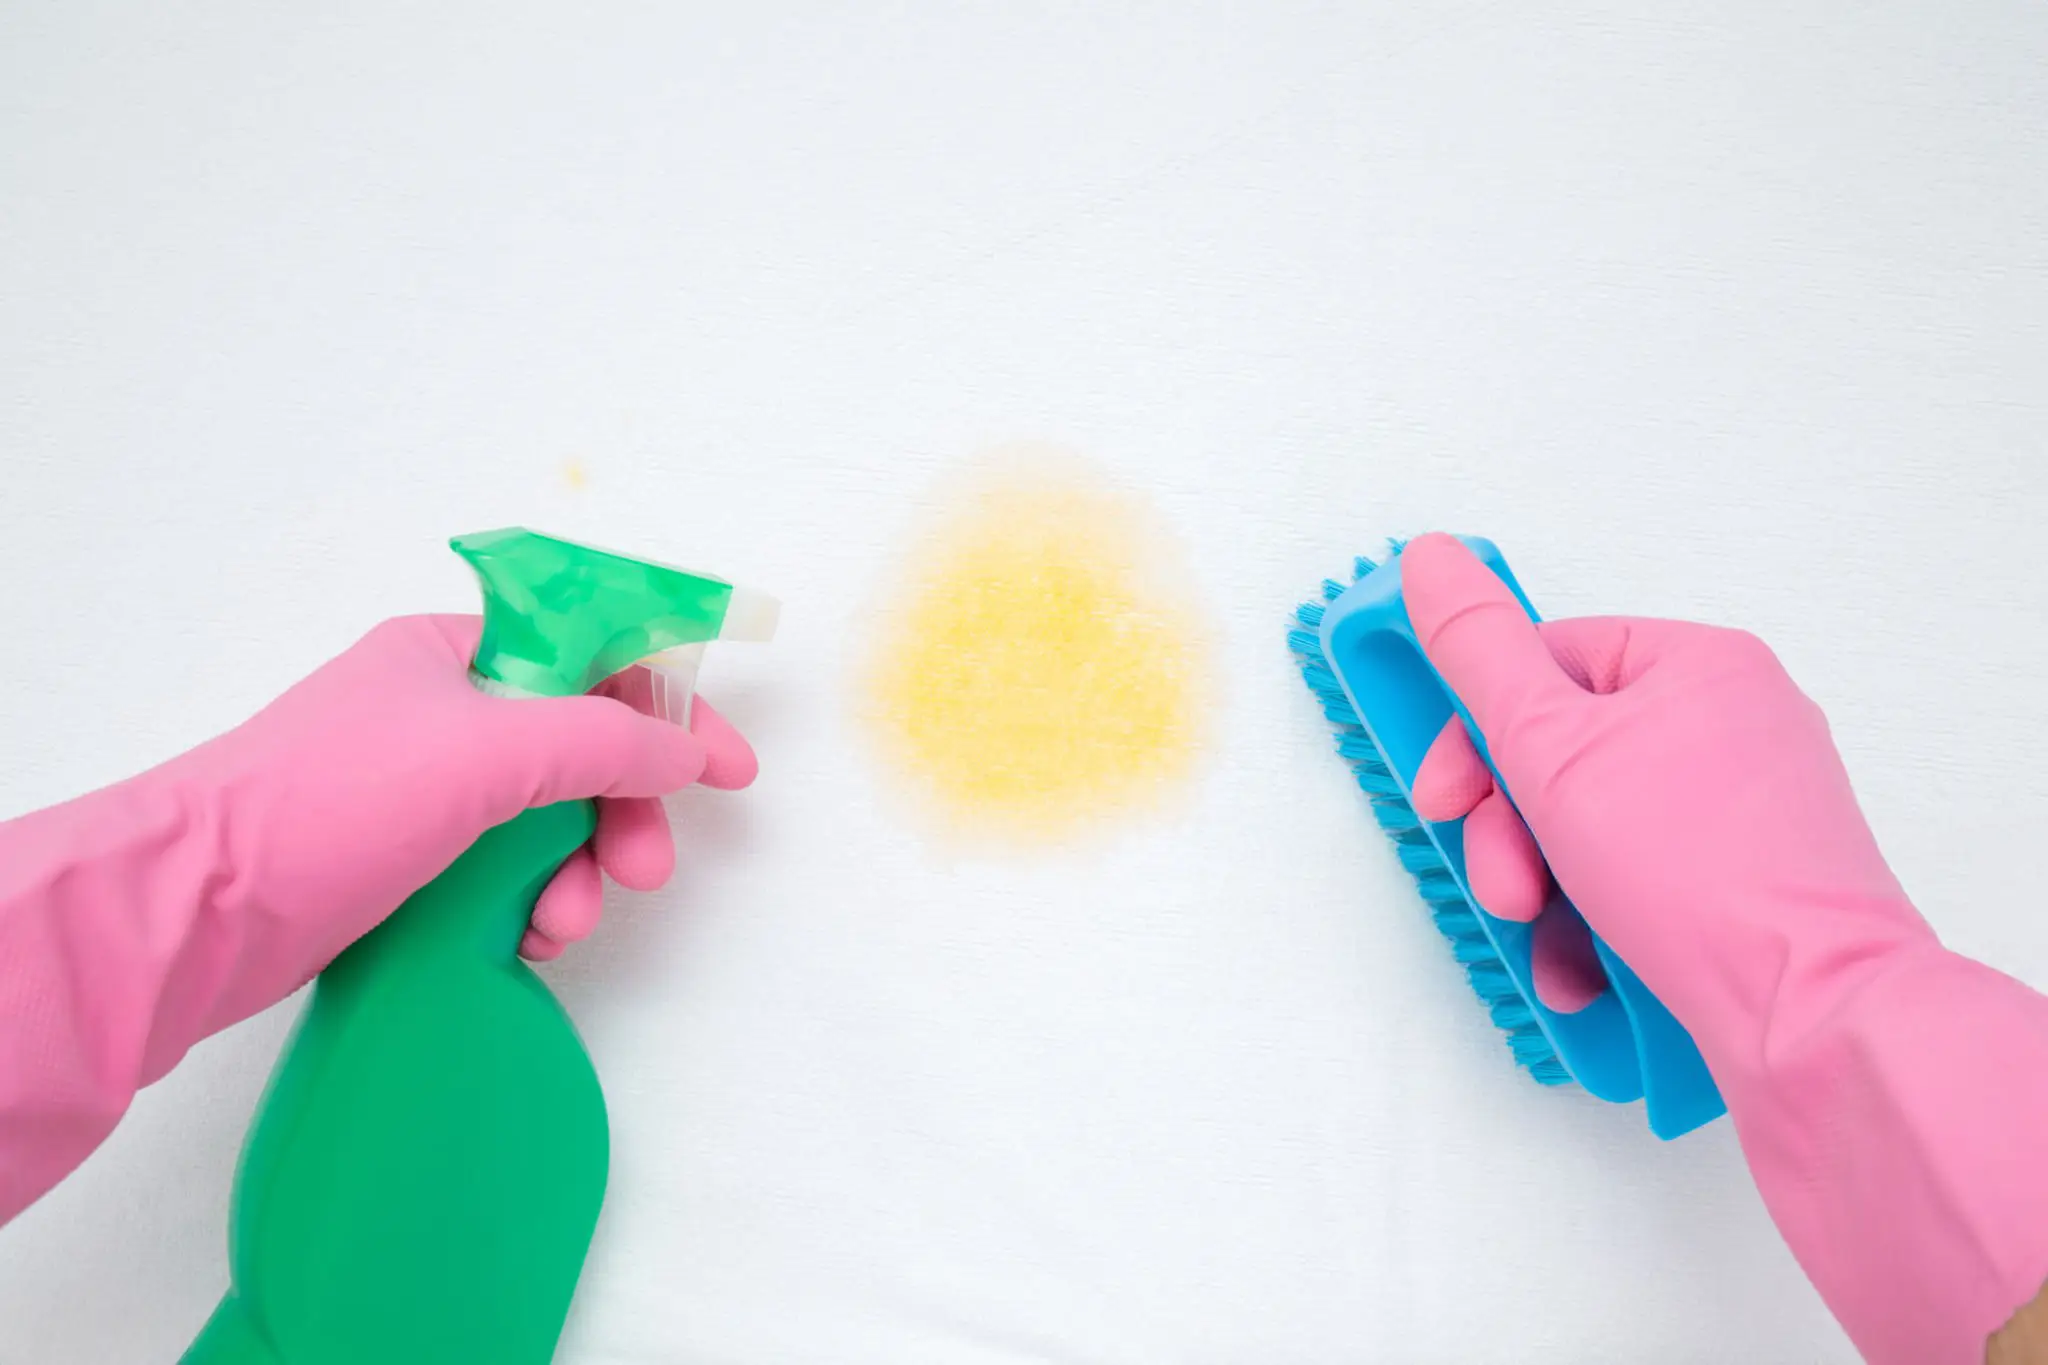
If there are any stains on your bedding, it’s important to pre-treat them before putting the bedding into the washing machine to give it the best chance of removing it. You can either purchase a stain remover to do this or put a small amount of either laundry powder or washing up liquid on the stain before putting the bedding into the washing machine. 

Wash At The Right Temperature

Whilst it’s true that washing bedding at a hotter temperature can aid with killing harmful bacteria and removing those persistent stains, not all fabric types can withstand a hot temperature wash and can be shrunk or damaged if put through the wash at a hot temperature (typically above 40°). 

Cotton bedding for example, can be washed at a hotter temperature, (even 60° or hotter), to kill bacteria and allergens due to its durability. But of course, be sure to check the care label first. Whereas linen, silk and satin bed sheets are relatively delicate and as such, should never be washed at a hot temperature and anything other than a gentle cycle. 

Cold water washes are perfect for regular washing though and they will still keep your bedding nice and clean (hot temperature is better at killing bacteria and cleaning stains though). A cooler wash will also help to prevent any damage to the fibres of the bedding material, helping to extend the life of your bedding. 

Wash On The Right Cycle

As touched upon above, choosing the right wash cycle is just as important as choosing the correct temperature. Delicate materials generally should be washed on low spin cycle settings, whilst the more durable fabrics can be washed on high spin cycle settings, which are also great at removing water quickly too, aiding drying time. 

Once again, it’s always important to check the care label before washing your bedding as it should indicate what cycle to wash it on. This will differ depending on the material. 

Cotton: Use a ‘normal’ or ‘regular’ cycle setting and whichever temperature you desire.

Linen, Silk & Satin: Choose one of the more ‘delicate’ or ‘gentle’ cycles and use cool water to minimise damage and shrinkage.

Synthetic Materials: Synthetics such as polyester can be washed on a ‘normal’ setting and with warm water if required. 

Use The Right Detergent

When it comes to using the right washing detergent, you want to opt for a mild and gentle one, so as to not damage any fabric fibers and avoid any potential sensitive skin irritants. One thing a lot of people use when cleaning bedding is fabric softener, however it’s actually recommended to avoid using them, as they too can weaken fibers and also trap any allergens present on the sheets. 

Dry Your Sheets Effectively

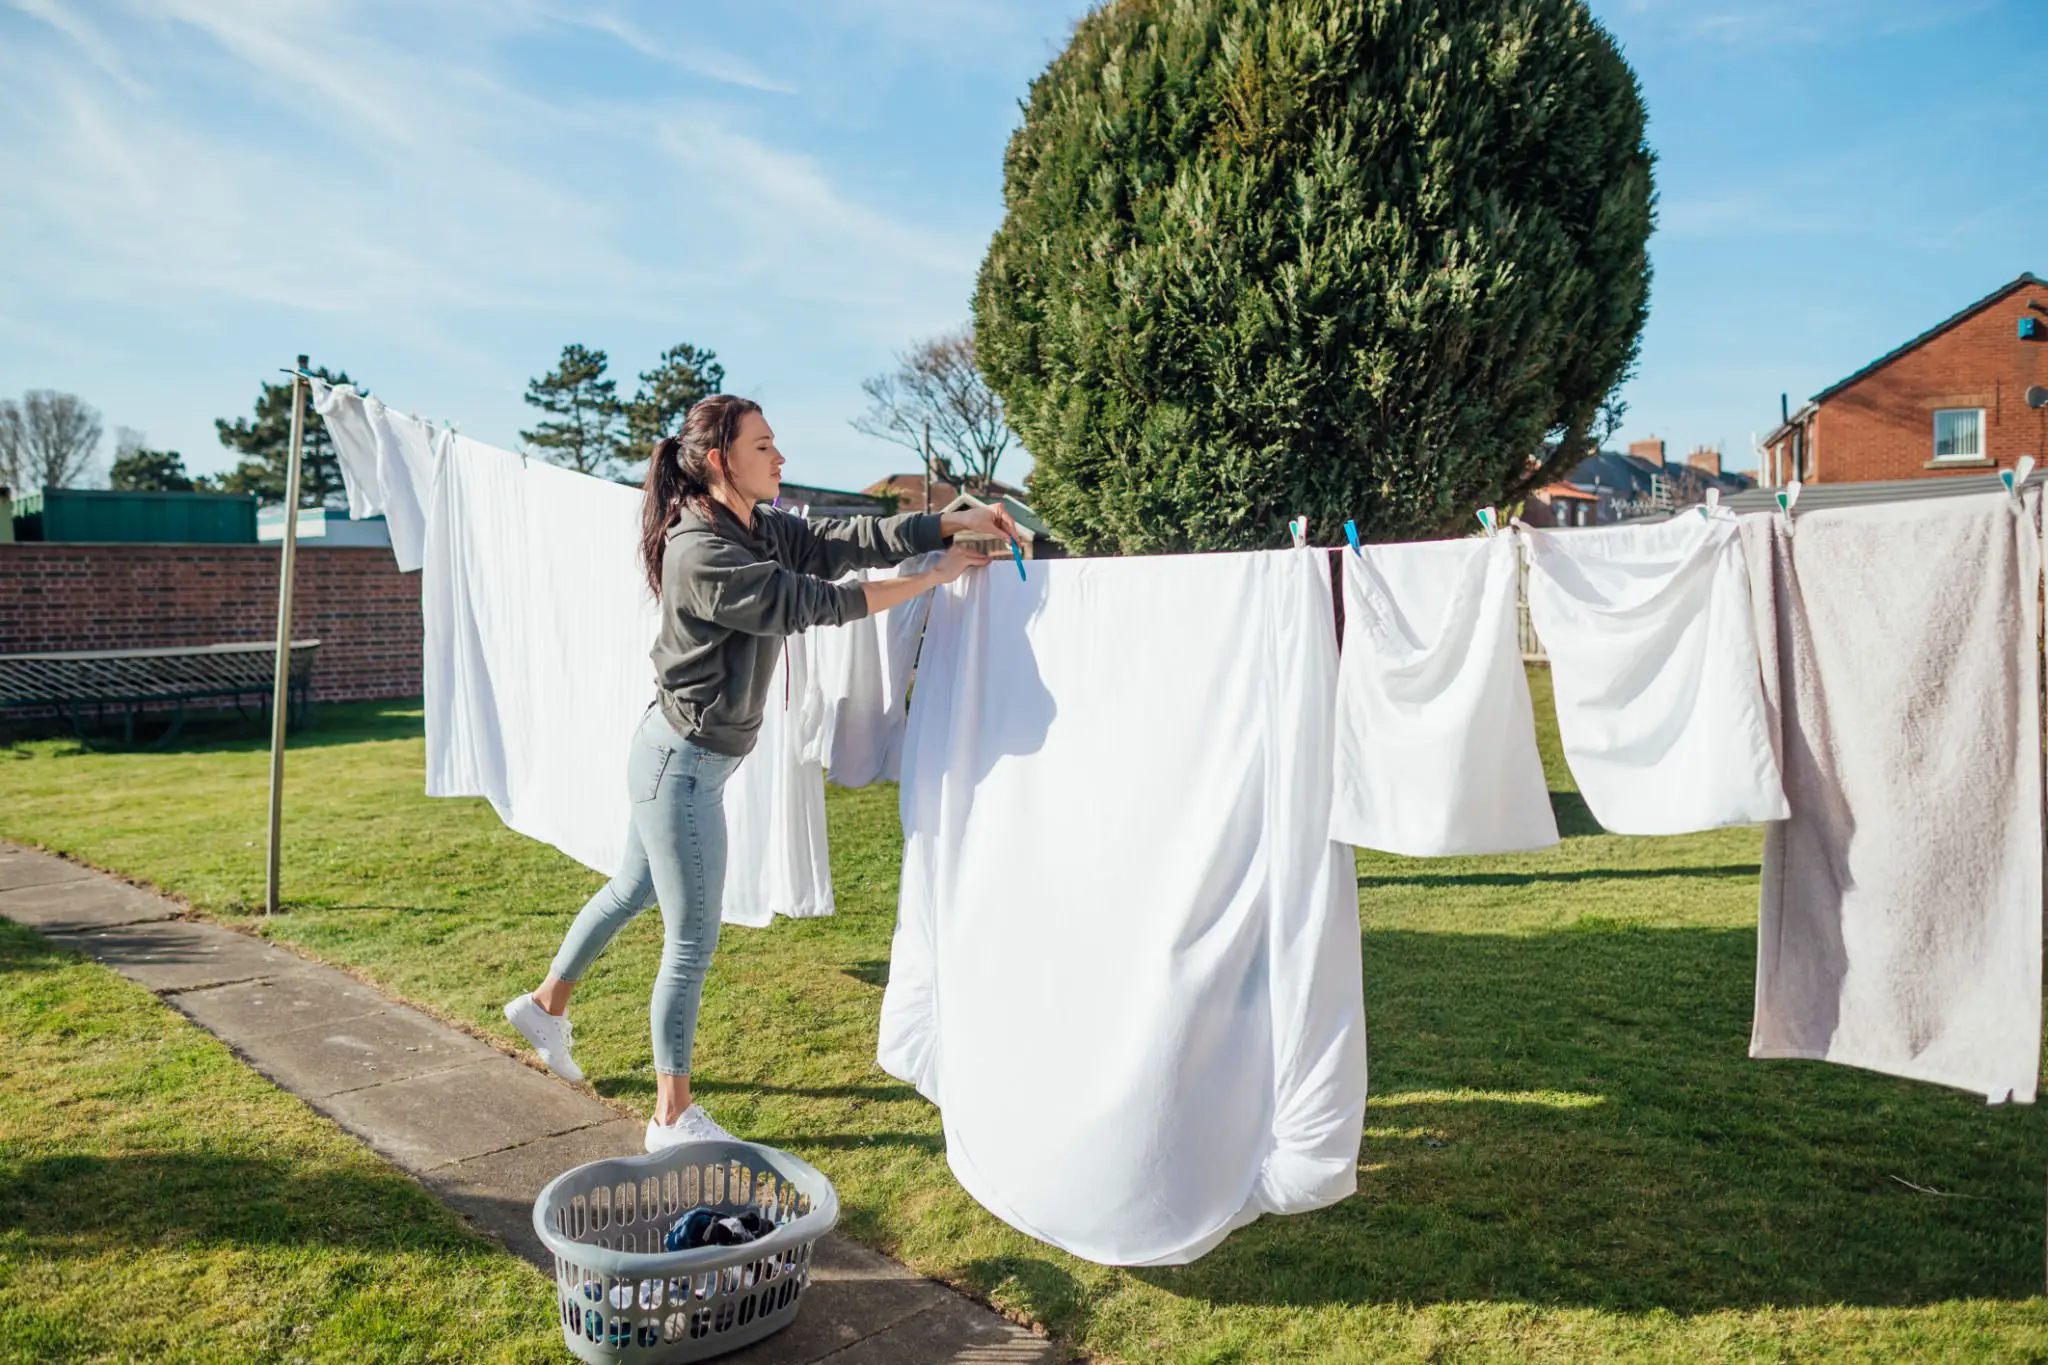
When it comes to drying your sheets, nothing beats drying them outside in the sunshine. Not only will drying them outside help to maintain their shape, but sunlight can also naturally disinfect them and in the case of white sheets can help to brighten them too! 

Of course, using the tumble dryer is often a quicker fix, but you run the risk of damaging your bedding and causing it to become wrinkly too. If you do use the tumble dryer, be sure to choose a low heat setting and remove the bedding before it’s fully dry to prevent those pesky wrinkles. 

Cleaning Your Mattress

Whilst your bedding’s in the wash, this is a great opportunity to also give that mattress a clean, something that not many people do regularly enough (or at all). 

Vacuum The Mattress

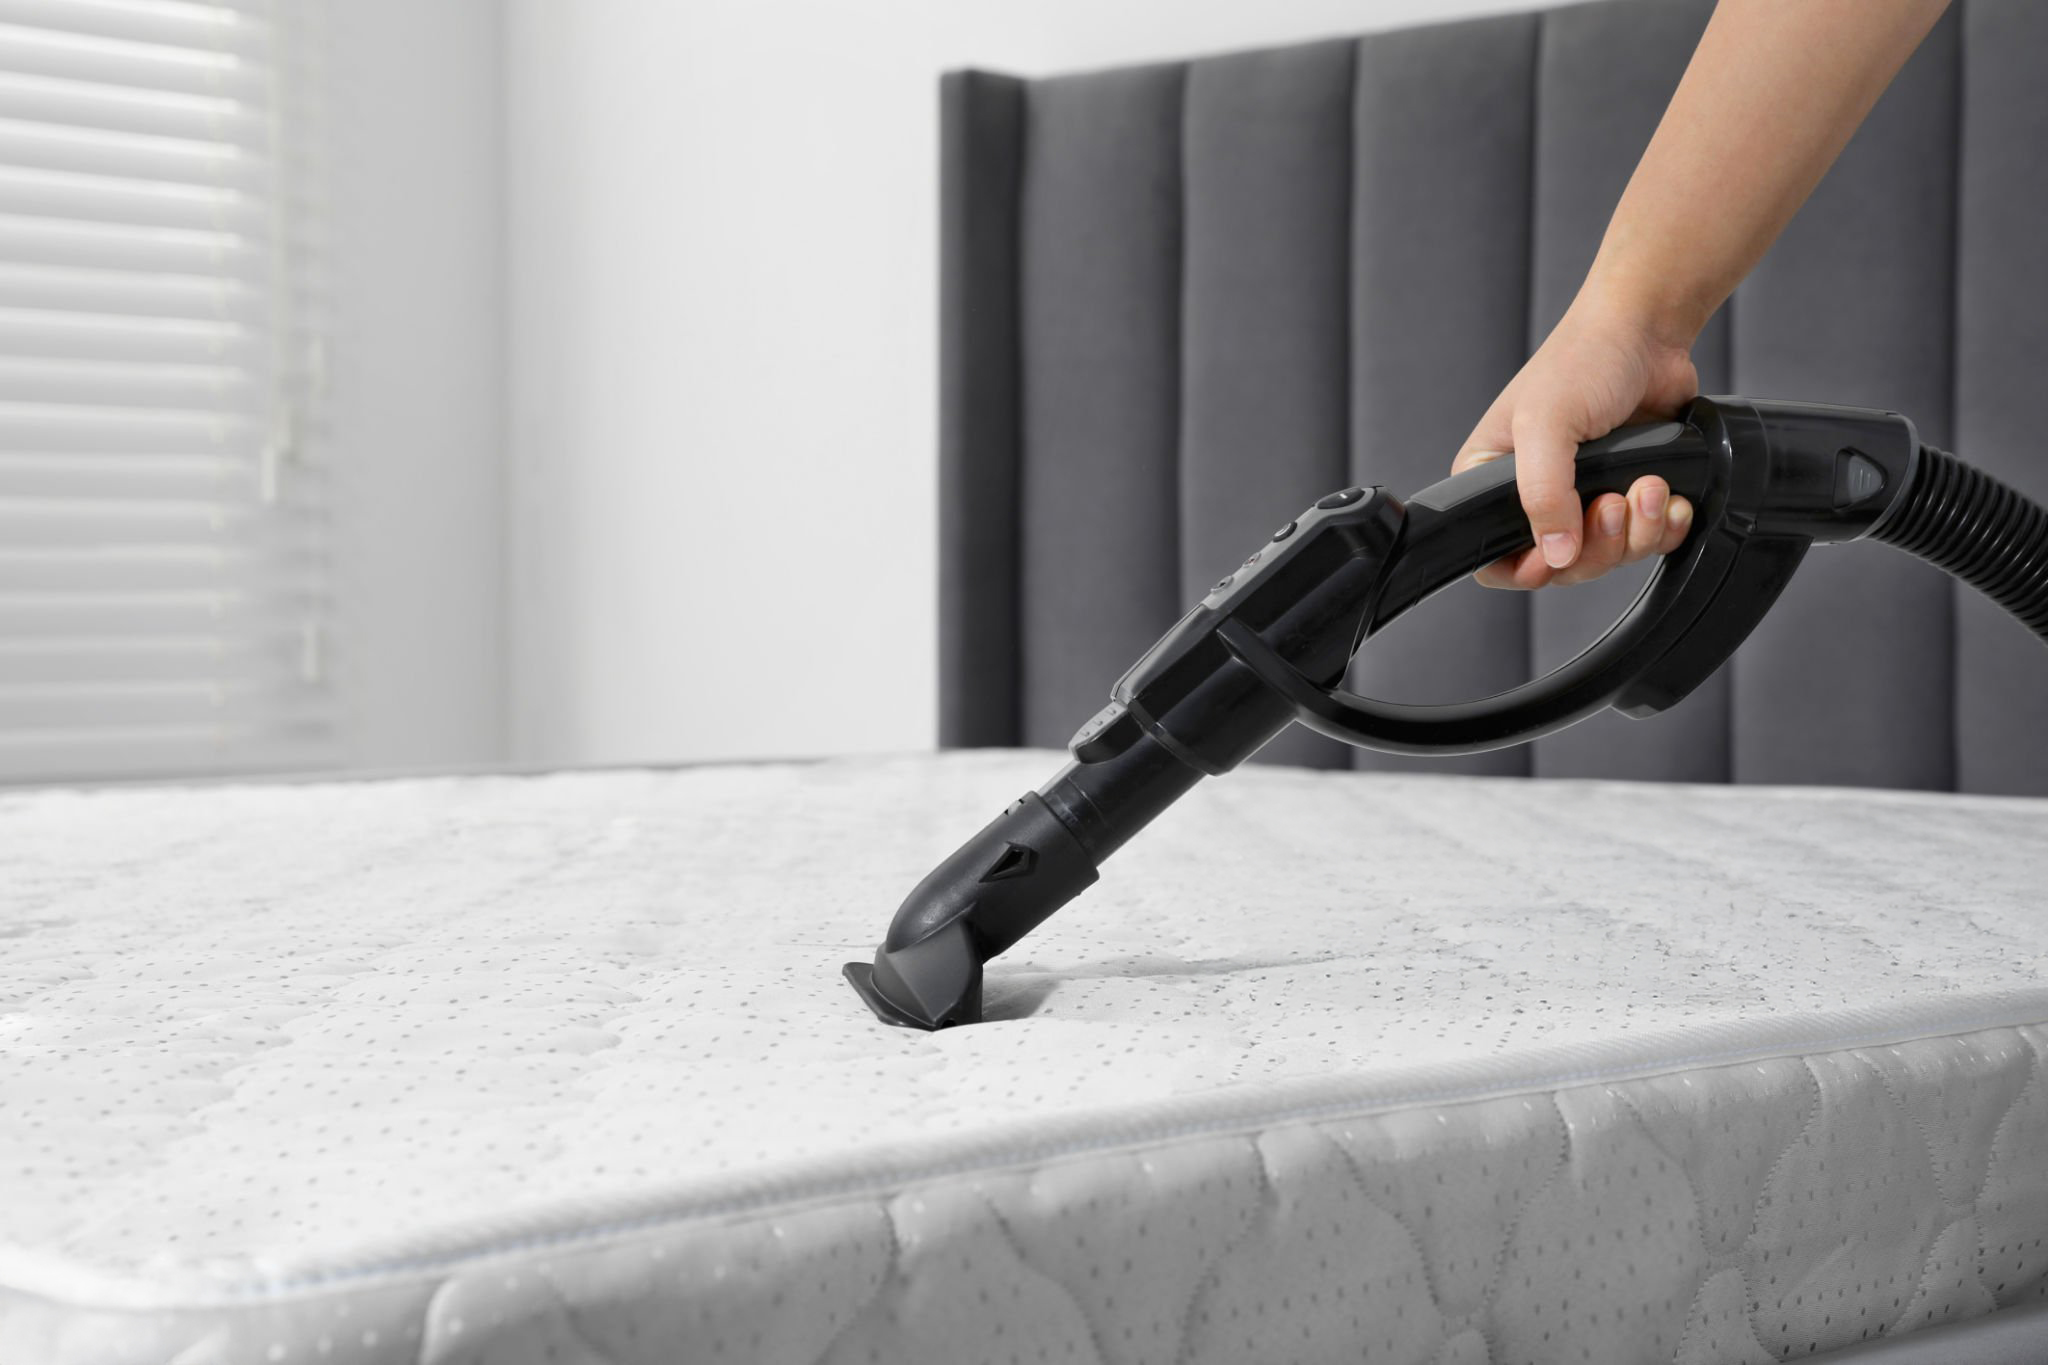
Once you’ve removed all the bedding and any mattress toppers from the bed, vacuum your mattress thoroughly with an upholstery attachment to remove any dirt, dust and debris. However, before doing so, if you have a beater bar vacuum attachment, use this first as the beating action lifts the debris, making it easier to suction away.

Make sure you concentrate on any crevices around the rim of the mattress when using both attachments as this is where dust and allergens tend to accumulate.

Spot Clean Any Stains

As advised previously, with any stains it’s always advised to tackle these immediately, as the sooner you look to clean them, the more likely they are to be removed. However if you’ve only just become aware of such stains, now’s the time to spot clean any. 

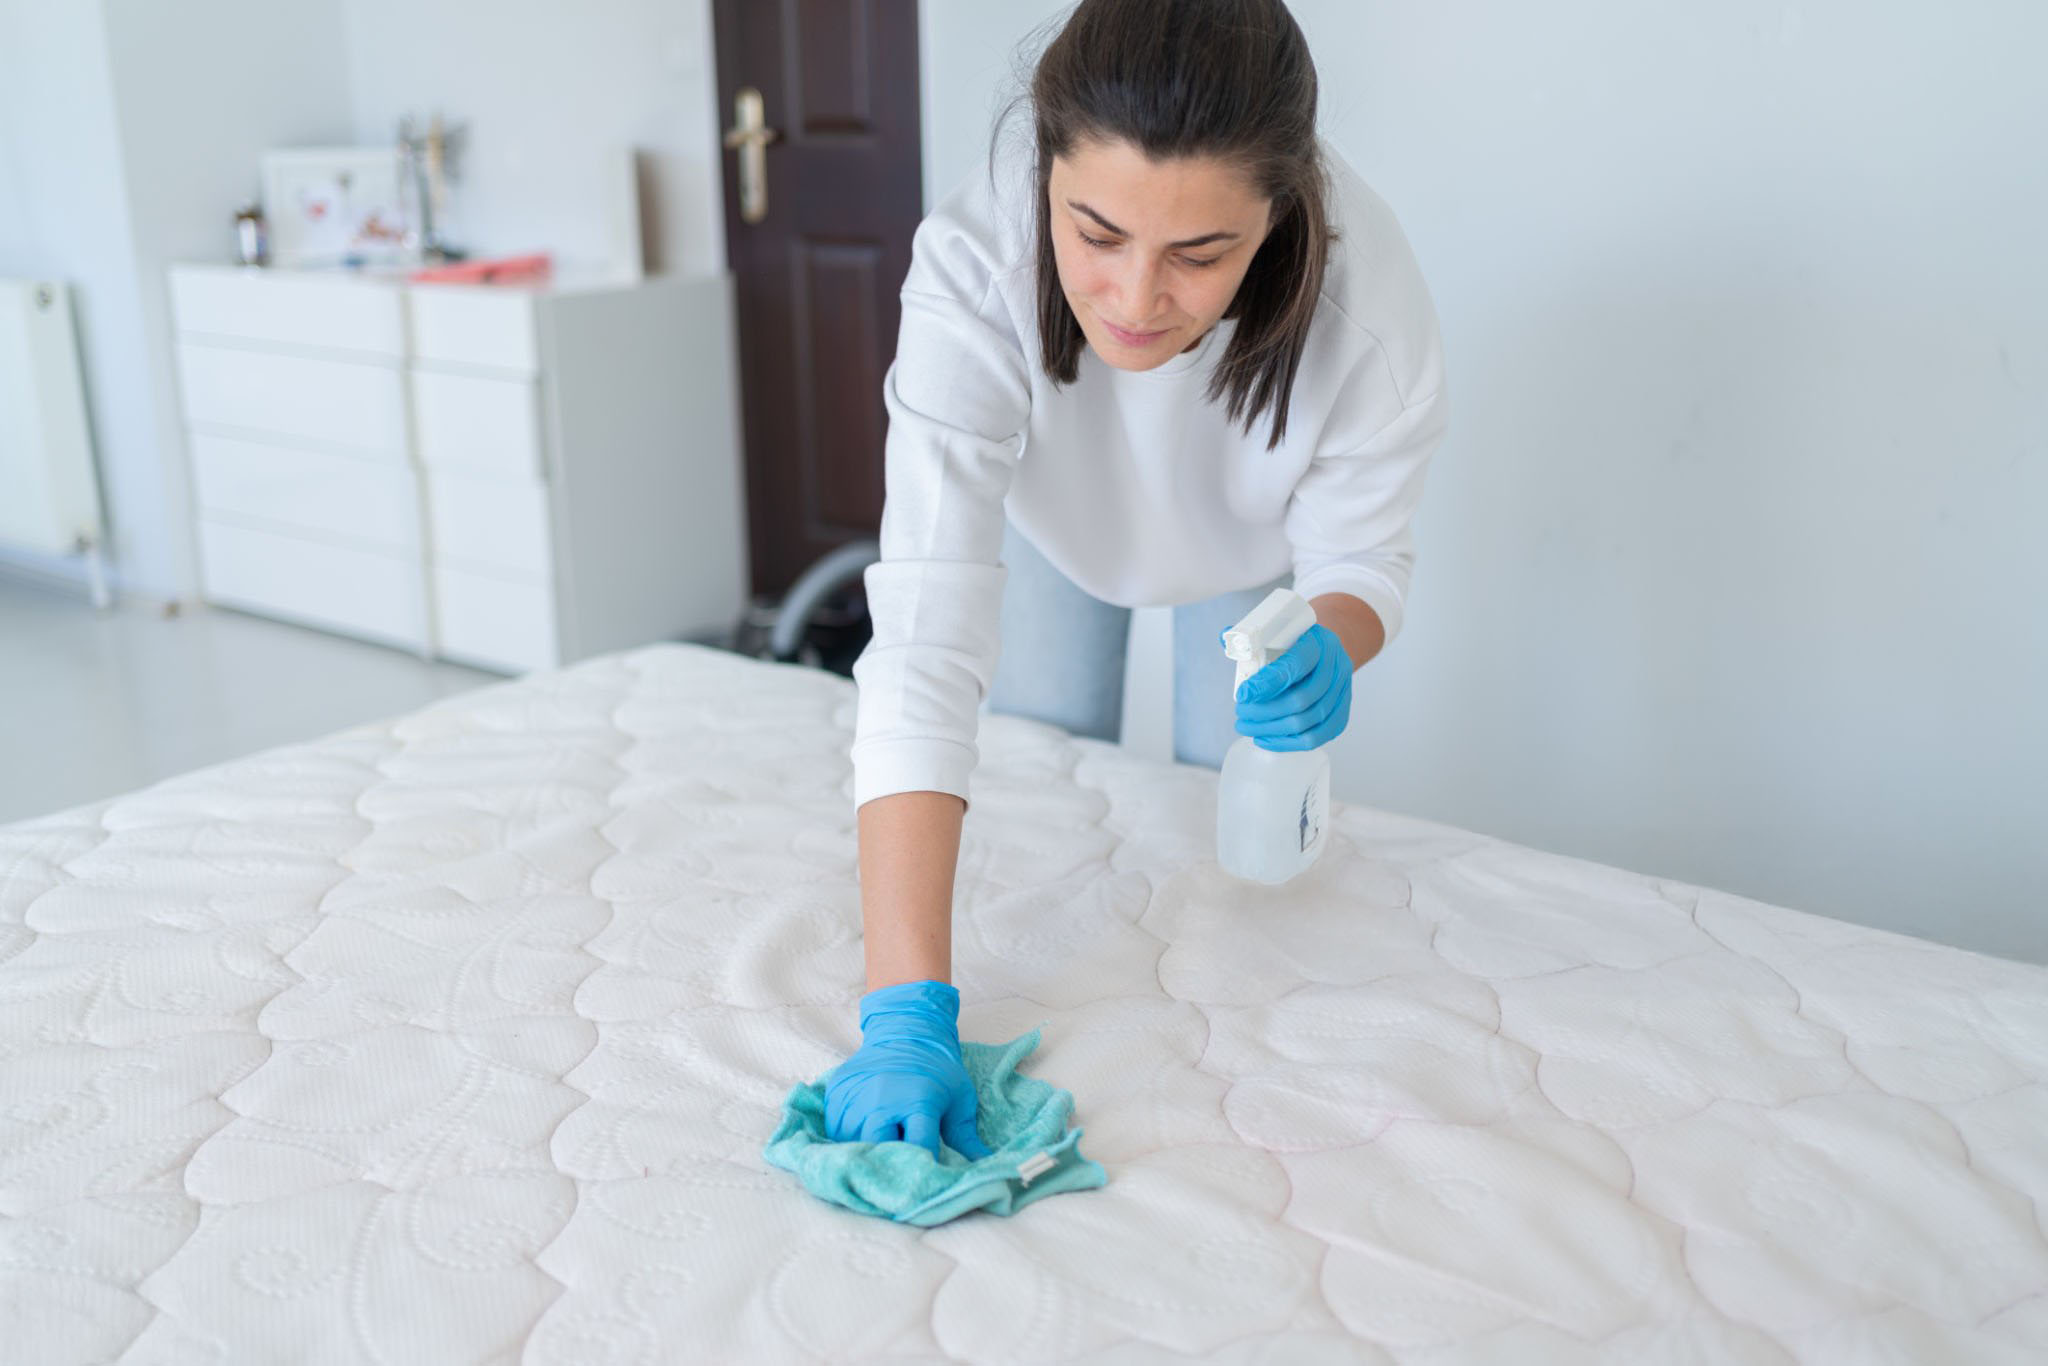
For minor stains you’ll want to use a mix of warm water and mild detergent, applying the solution to the stain and gently rubbing with a cloth, before blotting it dry. For more stubborn stains, you’ll likely need to purchase a more specified fabric cleanser and follow the instructions for using it and applying it to your mattress. You’ll probably still need a combination of the cleaning solution, a cloth or scrubbing brush and something to dry the mattress. 

Another alternative would be to use a mix of two parts baking soda and one part water to form a paste that you then apply to the stain on the mattress. You’ll want to then leave this 30 minutes, before dabbing it with clean water. 

Use Baking Soda To Deodorise

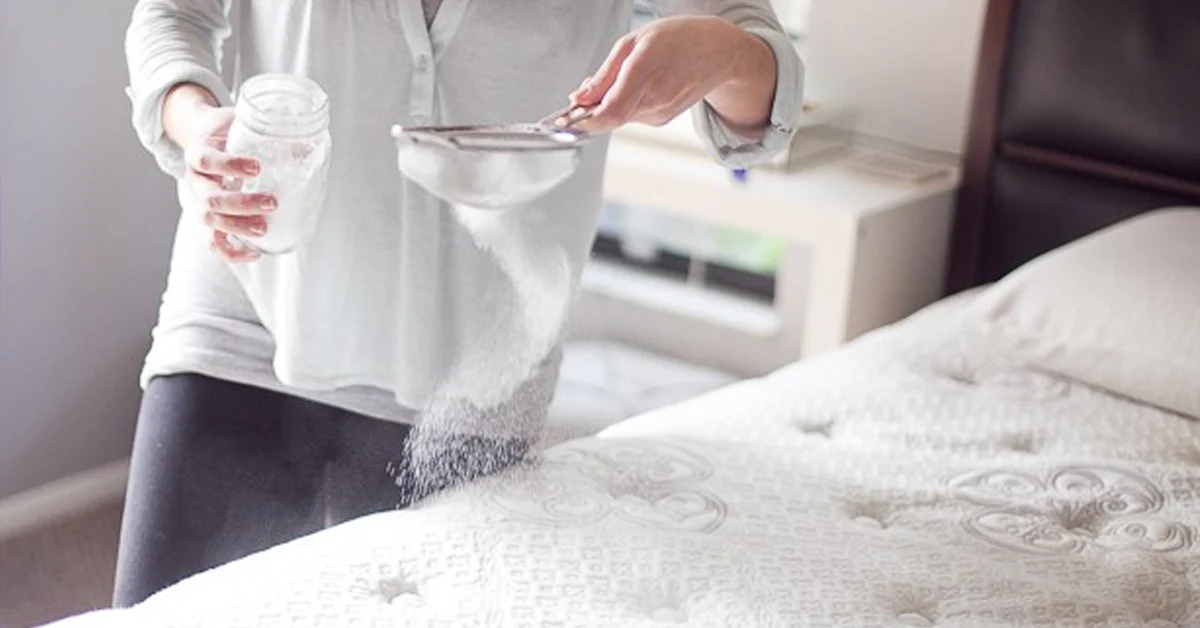
Baking soda has so many uses and one of those is to remove odours from fabrics. Simply sprinkle it generously over your mattress, then let it sit on the mattress for a few hours.

After a few hours, simply vacuum the baking soda up to remove any odours and dodorise the mattress.  

Air Out The Mattress

Once you’ve cleaned your mattress, it’s important to air out your mattress for several hours to remove any lingering moisture. The last thing you want is a damp mattress when you come to put your fresh bedding on it. To speed up this process, you could always look to open up your windows and maybe even turn on a fan to increase air circulation in the room. Make sure your mattress is completely dry before you make the bed. 

Potentially Flip Your Mattress

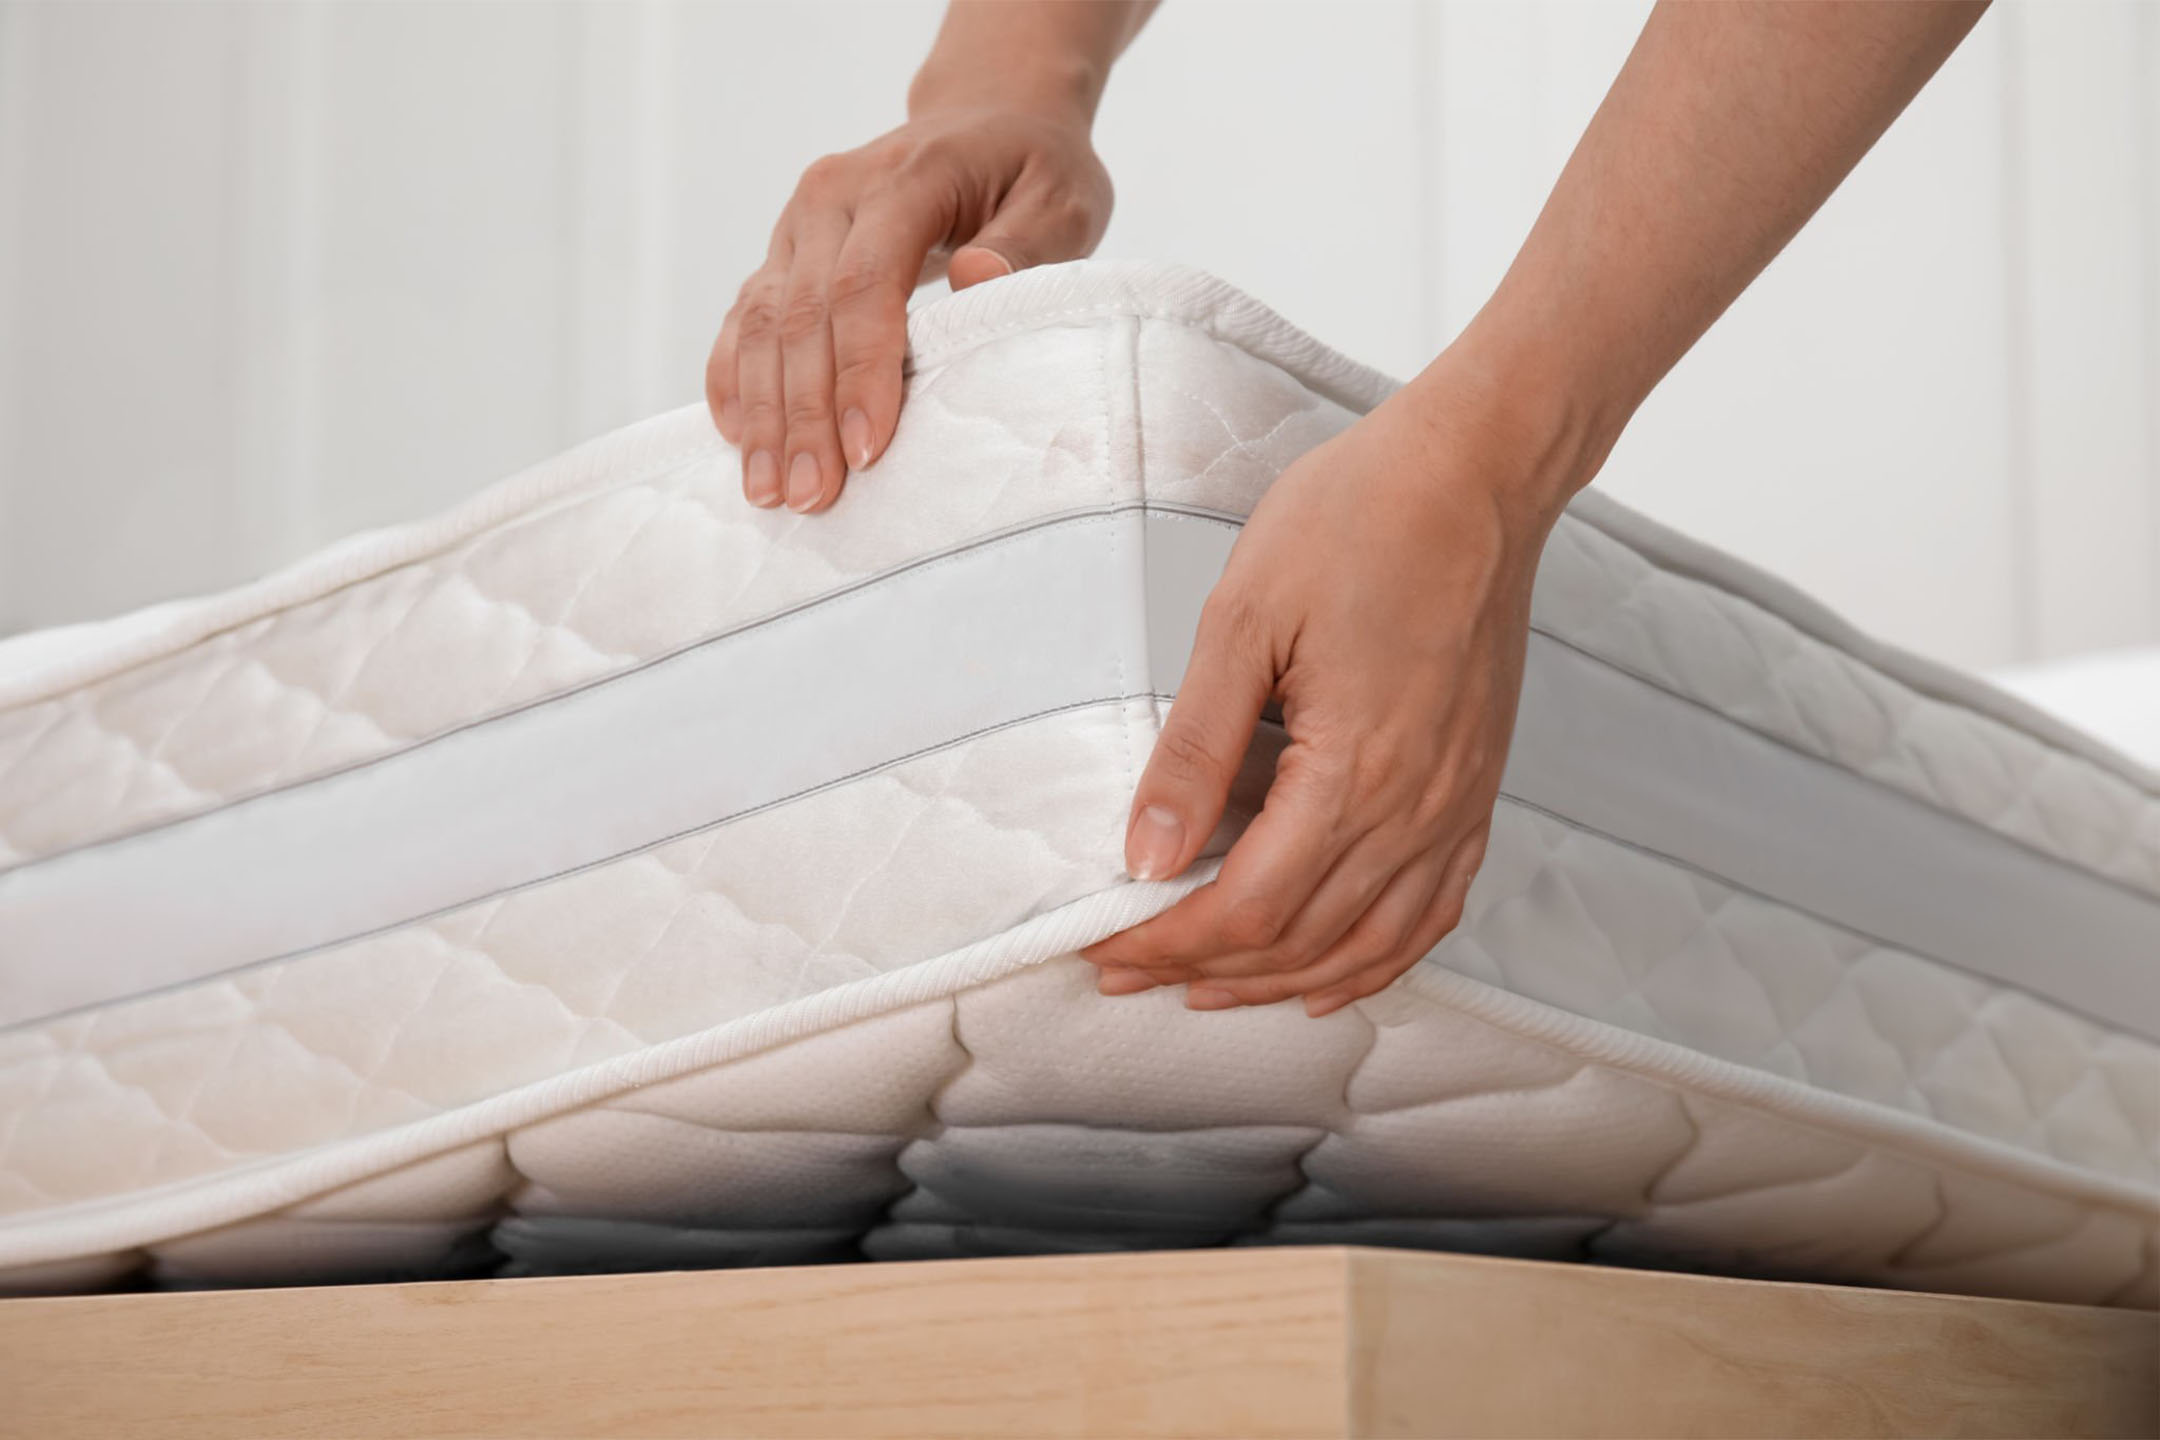
If you have a double sided mattress that can be slept on either side, now’s a good time to flip the mattress before you make the bed. Doing so elongates the life of your mattress and it’s specifically designed to be slept on either side. Only do this if that’s the case though as most mattresses are only designed to be used one way. 

Look To Protect Your Mattress Moving Forward

Now that your mattress is nice and clean, it’s worth looking into ways you could help to prevent any stains in the future and make the process of cleaning your bed quicker and easier. First of all, you could look to invest in a waterproof mattress protector to prevent spills and stains from reaching the mattress itself. These are particularly handy on children’s beds. Purchasing a mattress topper could also help to protect your mattress and make your bed even comfier too, a real win-win. 

Regular Cleaning To Extend Your Bed’s Life

It’s important to regularly clean your entire bed to keep away any harmful bacteria, allergens and prevent any stains. Plus, if you do it more regularly, the whole process of cleaning it will be much quicker too. 

Hopefully our guide has helped you to clean your bed more effectively and you’ll look to adopt some (or all) of these techniques moving forward to ensure a clean and comfy sleeping environment for years to come.