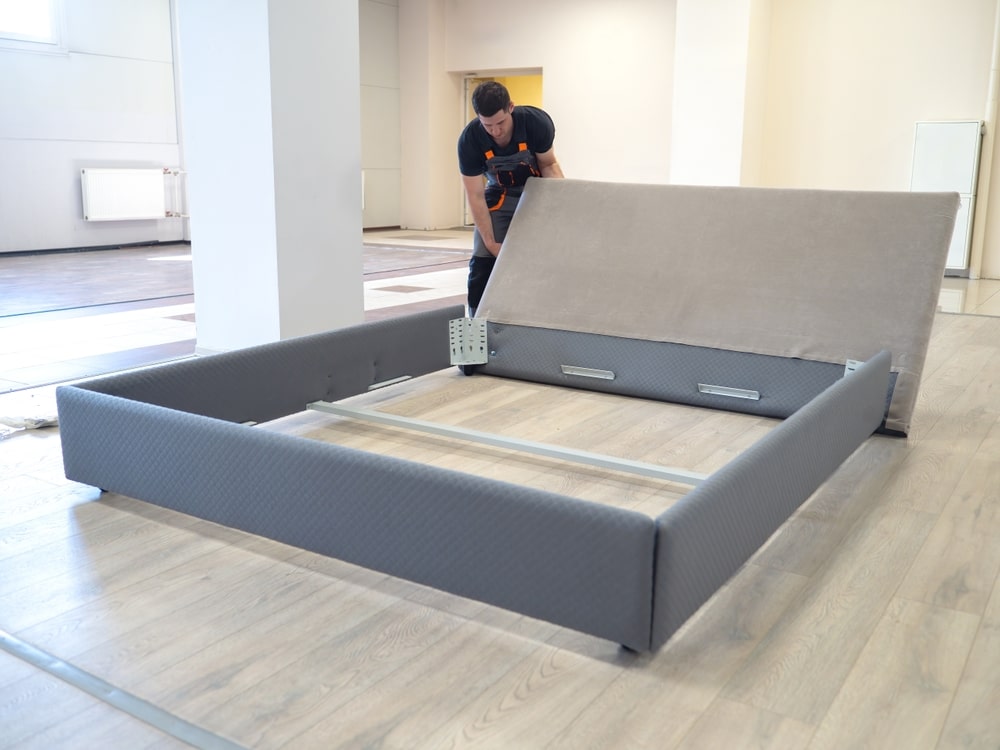
You’ve just purchased your new comfortable ottoman bed, and now it’s time for you to assemble it. It may feel like a long task as you match up all the appropriate parts, but with this helpful guide, your new bed will be set up in a matter of minutes. You’ll be able to get great sleep in no time! With a list of helpful tools, an overview of what’s inside the box and step by step instructions, we have all the tips to walk you through setting up your new ottoman bed. Let’s begin!

At A Glance

  • Follow all the steps for setting up your Ottoman bed.
  • Learn about the safety precautions you need to follow before beginning.
  • Discover tips for cleaning and maintaining your Ottoman bed for long-term use.

Estimated Time For Each Steps

Assembly Step Estimated Time Action Summary
Step 1: Unpack
5 – 10 minutes Unpack safely, locate fittings, and inspect sockets & fixing points
Step 2: Attach Feet
5 – 7 minutes Insert glides/castors into corner sockets and tap securely with a mallet
Step 3: Connect Base
5 – 8 minutes Align base halves, clip together, and bolt lid recesses tightly
Step 4: Attach Headboard
5 – 10 minutes Locate points, slit fabric, insert bolts/washers, adjust height & tighten

Your Safety Is Important

Before assembling your ottoman bed, it’s important to take some safety precautions. The gas struts (lifting mechanisms) move quickly, especially without a mattress fitted. We always recommend keeping your hands and face away from the hinges. Never lift the lid without a mattress on top of it.

The next thing to be aware of when assembling your ottoman bed is your environment. Keep children and pets away during the assembly and whenever you’re opening the ottoman storage. Do not let pets or children climb inside the ottoman.

Clear away and dispose of any packaging to prevent trip hazards when setting up your new bed.

When opening the lid of the ottoman bed, hold it firmly and guide it - do not let it spring open. Never lift the lid without a mattress on top of it.

If you’re running into any trouble after having assembled your bed, such as the lid not staying open, feels uneven or drops unexpectedly, stop using it and contact us. We’re more than happy to help with any issues.

What's In The Box?

Item Description / Quantity
Ottoman Divan Base
1 piece (Single size) or 2 halves (Double, King, Super King)
Feet & Support
Chrome glides or castor wheels (6–8 pieces, depending on base size)
Linking Hardware
Linking bars (pre-attached to one base half) with connecting bolts for the other half
Headboard Fixings If Ordered
Bolts, washers, and headboard struts (varies by ordered model)

Required Tools

Here is a list of some household tools to assist you with assembling your ottoman bed, making the process quicker and easier.

Tool Required Purpose
Scissors
For removing packaging and transit straps safely
Rubber Mallet
To tap and secure castors or chrome glides into the base sockets
Flathead Screwdriver
For tightening the provided assembly screws

Assembly Instructions

Now we have covered your safety precautions, what’s included in the box and the tools you’ll need to help you set up your bed, we can now go ahead and get started with assembling it.

Step 1: Unpack & Inspect All Items

Carefully remove the outer packaging and cut through the cling film with a pair of scissors, but be very careful not to cut through the fabric. When cutting, be aware of the fact that the pressure is high inside the packaging - be cautious of the lid flying open.

Look for the bag that contains all the fittings (often attached under the base). Ensure that the feet sockets are in place and check the base fabric for signs where the headboard fixings should go (if applicable).

Step 2: Attaching The Feet (Glides Or Sockets)

Turn the base over so the bottom is facing to the side. Secure each glide or castor into the corner sockets and tap them gently with your mallet until they’re fully secure. Repeat this step for each corner.

For a single base, turn it upright and position it in place. If you have a headboard, attach it to the headboard end at this stage. For a single base, turn it upright and position it in place. If you have a headboard, attach it to the headboard end at this stage.

Step 3: Position The Base (Two-piece bases)

Bring the two halves together, ensuring the inner sides align evenly. Secure the halves using the U-clips, then join the lids by inserting the provided bolts through the recesses marked with an ‘X’. Repeat this process on both sides of the base, making sure all connections are firmly tightened.

Step 4: Attaching The Headboard

Start by identifying the side for the headboard. The base should have labels indicating where the headboard bolts should go. Carefully feel for the headboard fixings under the fabric and use the scissors to make a small slit at each point.

For headboards on struts, insert the bolts through the struts. For floor-standing headboards, insert them through the designated slots. Adjust the height of a strut-mounted headboard as required, then fully tighten the bolts once the desired position has been reached.

Step 5: Check All Fixings

Once you have completed setting up your bed, it’s a good idea to ensure that all the fittings are secure. Before placing your mattress on the base, check that all bolts, clips and fittings are securely tightened. Make sure the base is stable, level and positioned correctly before use. Enjoy many nights of great sleep!

Caring For Your Ottoman Bed

Once you have set up your bed, it’s important to maintain it to ensure that it has a long lifespan and you get your money’s worth. Here’s some handy tips to help you care for your bed earache day.

Keep The Ottoman Mechanism Clean

Regularly check the lifting mechanism, hinges and gas struts for dust or debris. Wipe the components gently with a soft, dry cloth and avoid using harsh cleaning products, as these could damage the mechanism. This is a good way to make sure the hinges move seamlessly.

Check The Fixings Regularly

Over time, regular use can cause bolts and other fittings to loosen. Periodically check the fixings around your ottoman bed and tighten them where necessary to keep the frame stable and secure.

Avoid Overloading The Storage Area

Do not overload the storage compartment or exceed the recommended weight capacity of your ottoman bed. Keep stored items evenly distributed and avoid forcing the base closed if the compartment is too full, as this can put unnecessary strain on the lifting mechanism.

Open And Close The Bed Carefully

Always open and close your ottoman bed carefully, keeping your hands and fingers away from the moving parts. Avoid dropping the base when closing it and never force the lifting mechanism if it feels difficult to operate.

Care For The Bed Fabric

Keep the upholstery looking its best by regularly removing dust and debris with a soft brush or suitable vacuum attachment. Deal with spills as soon as possible using a clean, slightly damp cloth and avoid soaking the fabric or using abrasive cleaning products.

Keep The Bed Level

Position your ottoman bed on a flat, even surface and make sure all feet or glides are firmly touching the floor. Avoid dragging the bed when moving it, as this can damage the frame, feet or flooring.

Look After Your Mattress

Follow the manufacturer's care instructions for your mattress and rotate it regularly if recommended. Using a suitable mattress protector can also help protect the mattress from stains, moisture and everyday wear.

New Divan Bed?

If you have ordered a new divan bed instead of an ottoman one, but you’re unsure how to set it up, check out our easy instructions for setting up this type of storage bed.

Enjoy Great Sleep & Enhanced Storage Space

After reading this guide, we hope you have a better understanding as to how you can set up your new ottoman bed. We;ve touched on things such as all the items you should expect, estimated times, step by step instructions and how to clean your new ottoman. We hope you enjoy great sleep and improved storage space with your new ottoman bed!

If you are running into any issues, don’t hesitate to reach out to us. Come and visit us at our showroom, chat to a member of staff and get a feel for our products in person - we can’t wait to see you there!

G & B Bedding Co Ltd — Factory Showroom
Address North Ln, Astley, Manchester M29 7AB, UK
Mon – Fri 9:00 am – 5:00 pm
Saturday 10:00 am – 2:00 pm
Sunday Closed